Verified commits in Github

Have you noticed how some committers on GitHub have a ‘verified’ badge?

This isn’t because the person is special (sorry to burst my own bubble), but rather they have signed their commits with a tool such as the Gnu Privacy Guard (GPG).
Commit validation ensures the authenticity and integrity of code by verifying the identity of the author through GPG signatures, providing trust and security in collaborative projects.
There are good instructions on how to do this on Github Docs, but in this post I’ll go into a bit more detail showing both Windows and Windows Subsystem for Linux (WSL2).
Pre-requisite
You need to make sure you have verified your email in GitHub.
Install GPG4Win
As usual there’s a myriad of ways, pick one from the below that works for you:
- Follow the manual instructions on https://www.gpg4win.org/
-or-
- Use winget (required local admin)
winget install -e GnuPG.Gpg4win -or-
- Use scoop (installs as current user, no admin required)
| |
Create a public & private key pair
Run the following:
| |
Follow the wizard:
The defaults are pretty good choices!
At the end it should print out information about the key:
| |
We’ll need the public key id (the number starting 3E5171… in the above example). (PS, No, that’s not my real key).
Extract the public key using gpg --armor --export <your_key>
| |
Add the key to GitHub
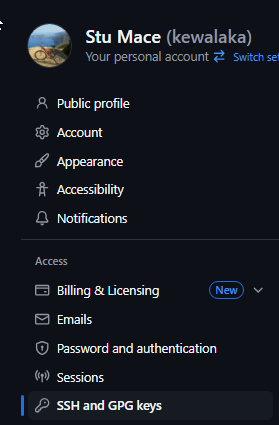
Go to your GitHub Profile -> Settings
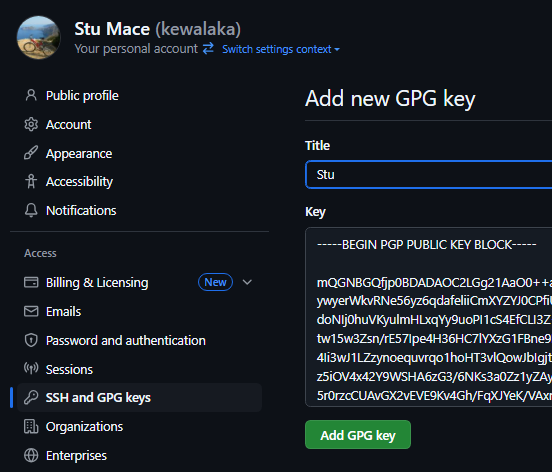
Find “SSH and GPG key”, then “New GPG key”
The title can be whatever you like, paste the public key obtained earlier including the “BEGIN” and “END” lines:
You can optionally enable “Vigilant mode”, as the UI says:
This will include any commit attributed to your account but not signed with your GPG or S/MIME key. Note that this will include your existing unsigned commits.
Locate the path to gpg from WSL2
I recommend creating a symlink for gpg from WSL2, to your Windows installation.
You can also install gpg inside WSL, but I’ve found that doing so breaks the ability for VSCode to prompt for the signing passphrase.
First, we locate the path where GPG was installed.
If you used the website install, or winget, it will likely be here:
| |
If you used scoop, you can use scoop which gpg
| |
To access the Windows C drive from WSL you use the /mnt/c path, and you need to escape any special characters like spaces and brackets with a backslash.
Let’s take the above examples:
| |
I’d suggest using the “ls” command to check you’ve got the path correctly specified.
Create the symlink & test:
| |
Configure Git to use GPG
Set your git config to use the signing key. If you’ve only got a single developer identity, then a global setting is easiest:
git config --global user.signingkey <key_id>
Optionally, automatically sign all commits
git config --global commit.gpgSign true
Test from Visual Studio Code
If all is well, when you commit in Code, you’ll be prompted to enter your passphrase (this is then cached for the period defined in gpg-agent.conf)
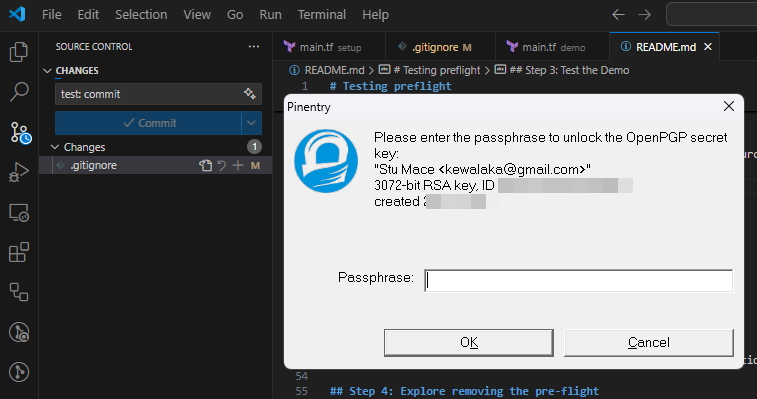
In this example, I’m using VSCode from WSL2 - passphrase prompting works here too!
If you’re unsure if this has worked, you can use git log --show-signature to check the local commit before pushing your commit to GitHub:
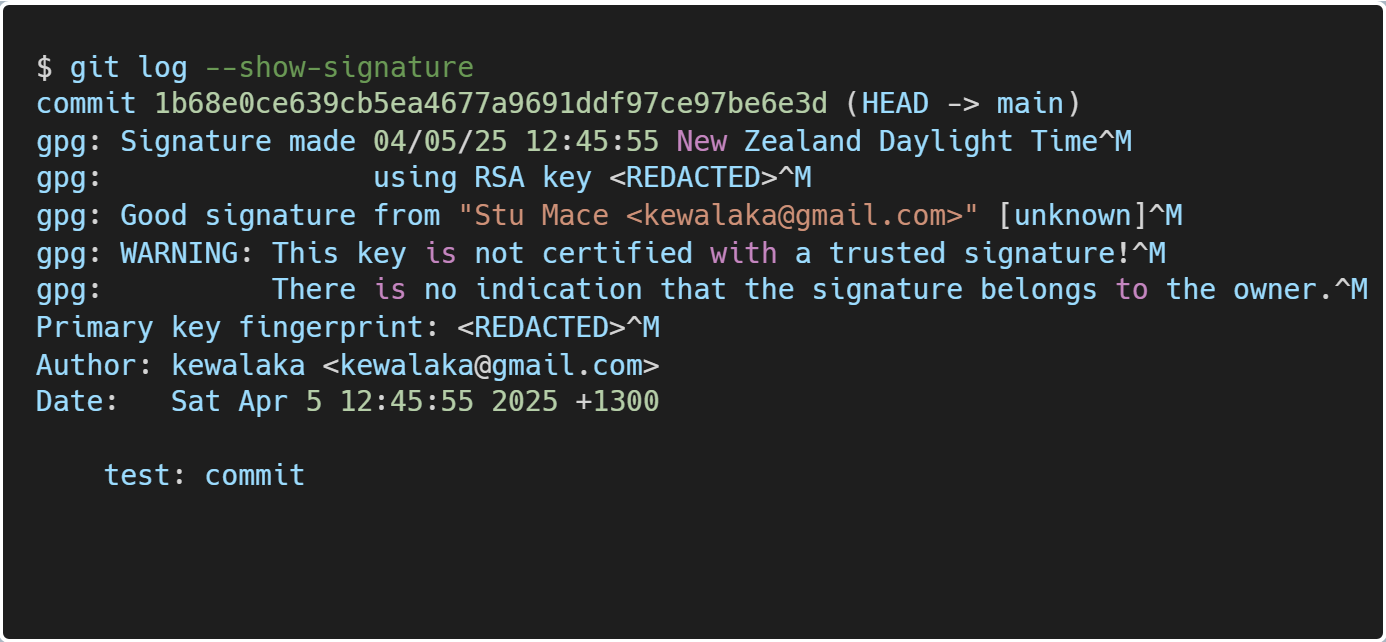
Look for “good signature” and make sure the e-mail address is as per your github profile
Call to action
We all love a bit of validation, right 😆?
Now, you can be verified on GitHub and look like a DevOps rockstar.
Why not set up commit signing today?
As a bonus, you’ll then be set up when you come across a repo where branch protection requires signed commits!